How to winterise a FourStroke Outboard
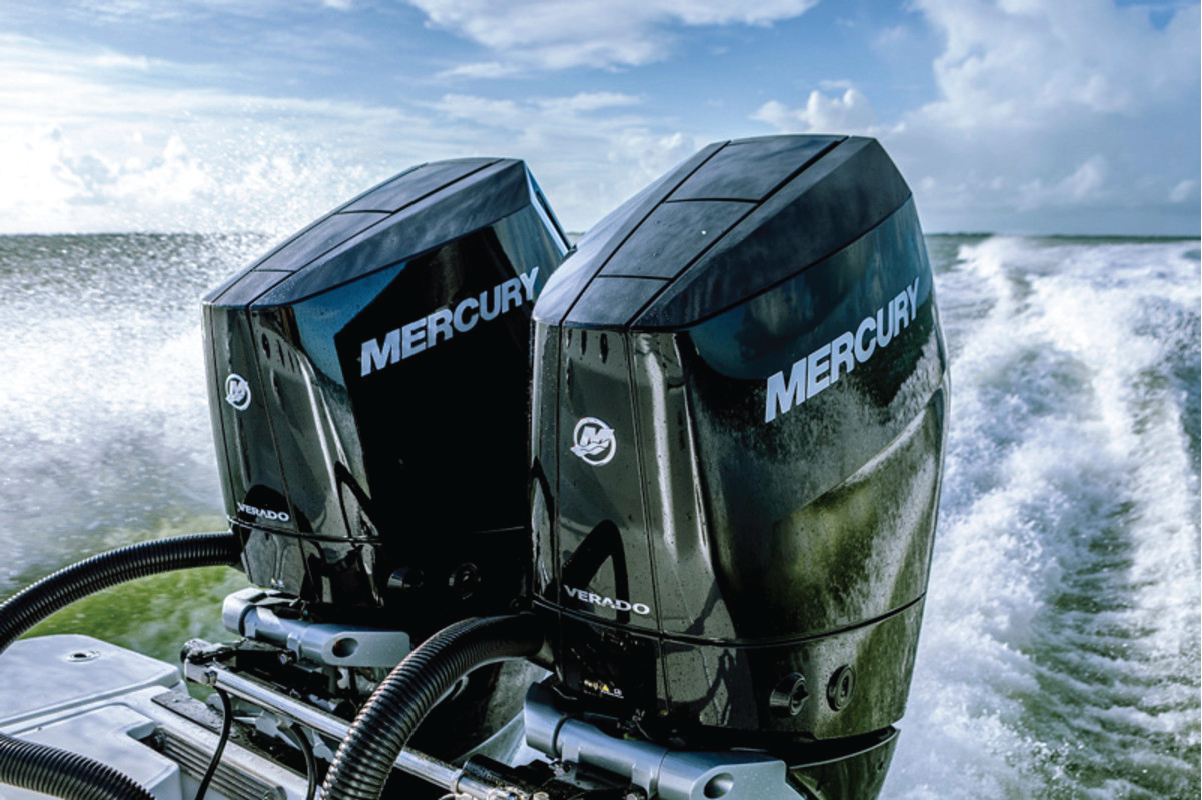
Whilst our main focus is on RIB boats for sale, we also work in partnership with Powertech Marine with Mercury outboard engines and we're often asked how to go about winterising an engine. As the boating season slowly winds down for everyone except RIB users and winter approaches, it's essential to prepare your four-stroke outboard engine for the cold months ahead when you decide to let your RIB or inflatable rest for a while
Winterising your outboard engine not only protects it from the harsh winter weather but also ensures that it will be ready to perform at its best when spring arrives. This comprehensive guide will walk you through the step-by-step process of winterizing a four-stroke outboard engine, covering everything from the necessary tools and materials to detailed instructions for each stage of the process.
Why Winterising Your Outboard Engine is Important
Winterising your four-stroke outboard engine is a crucial maintenance task that should not be overlooked. If left untreated, moisture can build up in your engine, leading to corrosion, rust, and other damage. Additionally, fuel left in the system can degrade, causing blockages and other issues. By properly winterising your engine, you'll protect it from these potential problems and extend its lifespan.
Tools and Materials You'll Need
Before you begin, make sure you have all the necessary tools and materials on hand. Here's a list of what you'll need:
- Engine flushing kit or muffs
- Garden hose
- Engine oil (as specified by the manufacturer – we can help advise on this)
- Oil filter
- Fuel stabiliser
- Fogging oil
- Grease gun
- Marine-grade grease
- Anti-freeze (for water-cooled engines)
- Spark plug wrench
- Socket set
- Drain pan
- Funnel
- Screwdriver
- Wrench set
- Shop rags or paper towels
- Owner's manual for your specific outboard engine model
Step 1: Clean the Engine
Before you start the winterising process, it's a good idea to clean your engine thoroughly. This step will make it easier to spot any potential issues and prevent corrosion from dirt and grime.
1. Rinse the Exterior: Use a garden hose to rinse off any salt, dirt, or debris from the engine's exterior. Pay special attention to the lower unit and propeller, as these areas are most likely to accumulate grime, but also look at areas that are likely to have received salt spray (on tiller outboards, check under the tiller arm – top tip).
2. Clean the Cowling: Remove the engine cowling and wipe down the interior with a clean rag. This will help you identify any oil leaks or damage that may need to be addressed.
3. Inspect for Damage: While cleaning, inspect the engine for any signs of wear, corrosion, or damage. If you find any issues, it’s best to address them before proceeding with winterisation.
Step 2: Flush the Cooling System
Flushing the cooling system is one of the most important steps in the winterization process. This step removes any salt, dirt, or debris from the cooling system and helps prevent corrosion during the off-season. We’d always recommend doing this after every trip out on your RIB boat, but it’s worth doing one last time before hibernation!
1. Attach Flushing Muffs or a Flushing Kit: Depending on your engine model, attach either flushing muffs or a flushing kit to the engine's water intake ports. Make sure they are securely attached to ensure a proper seal.
2. Connect the Garden Hose: Attach a garden hose to the flushing muffs or kit. Turn on the water supply to start flushing the cooling system.
3. Run the Engine: Start the engine and let it run in neutral for 10-15 minutes. This will allow the freshwater to circulate through the cooling system and flush out any contaminants. Be sure to keep an eye on the water flow to ensure that the engine is being properly flushed.
4. Add Anti-freeze (If Necessary): For engines that require it, introduce anti-freeze into the cooling system during the last few minutes of flushing. Follow the manufacturer's instructions for mixing and introducing anti-freeze to ensure proper protection.
5. Turn Off the Engine: Once the flushing process is complete, turn off the engine and disconnect the garden hose and flushing muffs.
Step 3: Change the Engine Oil and Oil Filter
Changing the engine oil and oil filter is a crucial step in the winterisation process. Old oil can contain contaminants that can damage the engine over time, so it’s essential to replace it with fresh oil before storing your boat for the winter.
1. Warm Up the Engine: Before changing the oil, run the engine for a few minutes to warm it up. This will make the oil easier to drain and help remove any contaminants that may be suspended in the oil.
2. Drain the Oil: Place a drain pan under the engine's oil drain plug. Remove the drain plug and allow the oil to drain completely. Be sure to follow proper disposal procedures for the used oil.
3. Replace the Oil Filter: While the oil is draining, use a filter wrench to remove the old oil filter. Before installing the new filter, apply a small amount of fresh oil to the rubber gasket on the filter. This will help create a proper seal when the filter is installed.
4. Install the New Filter: Screw the new oil filter onto the engine by hand, and then tighten it an additional quarter turn with the filter wrench. Be careful not to overtighten, as this can damage the filter or the engine.
5. Refill with Fresh Oil: Once the old oil has drained and the new filter is installed, replace the drain plug and refill the engine with fresh oil, following the manufacturer's specifications for oil type and quantity. Use a funnel to prevent spills.
6. Check the Oil Level: After refilling, check the oil level using the dipstick. If necessary, add more oil to reach the correct level.
Step 4: Treat the Fuel System
Fuel left in the engine over the winter can degrade, leading to gum and varnish buildup that can clog fuel lines and carburettors. Treating the fuel system with a fuel stabiliser is an essential step to prevent these issues.
1. Add Fuel Stabiliser: Add the recommended amount of fuel stabilizer to the fuel tank. Be sure to use a stabiliser that is compatible with the type of fuel in your tank (e.g., ethanol-free, E10).
2. Run the Engine: After adding the stabiliser, run the engine for 10-15 minutes to allow the treated fuel to circulate through the entire fuel system, including the carburettors or fuel injectors. This will help protect the system from degradation during storage.
3. Drain the Carburettors (If Applicable): For engines with carburettors, it’s a good idea to drain any remaining fuel from the carburettor bowls. This can be done by opening the drain screws located on the carburettors and allowing the fuel to drain into a container. This step helps prevent fuel from evaporating and leaving behind residues that can clog the system.
Step 5: Fog the Engine
Fogging the engine is an essential step to protect the internal components from corrosion during the winter months. Fogging oil coats the engine's internal parts with a protective layer, preventing rust and corrosion.
1. Access the Air Intake: Remove the air filter or air intake cover to access the engine’s air intake.
2. Apply Fogging Oil: With the engine running at idle, spray fogging oil into the air intake. Continue spraying until you see smoke coming out of the exhaust, indicating that the oil has coated the internal components. Be sure to follow the manufacturer’s recommendations for the amount of fogging oil to use.
3. Turn Off the Engine: After fogging, turn off the engine and replace the air filter or intake cover.
4. Fog the Cylinders: For additional protection, remove the spark plugs and spray a small amount of fogging oil directly into each cylinder. Replace the spark plugs after fogging.
Step 6: Lubricate Moving Parts
Lubricating the engine's moving parts is another critical step in the winterisation process. This helps prevent rust and corrosion on parts that are exposed to the elements.
1. Grease the Fittings: Use a grease gun to apply marine-grade grease to all grease fittings on the engine. Common areas that require lubrication include the steering pivot points, throttle and shift linkages, and any other moving parts specified by the manufacturer.
2. Lubricate the Propeller Shaft: Remove the propeller and apply a thin layer of marine grease to the propeller shaft. This will help prevent the propeller from seizing during the winter. While the propeller is off, inspect it for any damage and clean the shaft of any debris.
3. Replace the Propeller: Once lubricated, reinstall the propeller, ensuring that it is properly secured.
Step 7: Drain and Inspect the Lower Unit
The lower unit of your outboard engine contains the gearcase, which should be drained and inspected before winter storage to prevent damage from water or contaminants.
1. Position the Engine: Tilt the engine so that the lower unit is in a vertical position. This will make it easier to drain the gearcase oil.
2. Drain the Gearcase Oil: Place a drain pan under the lower unit and remove the drain plug. Allow the gearcase oil to drain completely. If the oil appears milky or contains metal particles, it could indicate water intrusion or gear damage, which should be addressed before storage.
3. Inspect the Magnet: Many lower unit drain plugs have a magnet that collects metal shavings. Inspect this magnet for any excessive buildup of metal, which could indicate a problem with the gears.
4. Refill with Fresh Gearcase Oil: Once the old oil has drained, replace the drain plug and refill the gearcase with fresh marine gear oil, following the manufacturer’s specifications. Be sure to fill the gearcase from the bottom to avoid air pockets.
Step 8: Store the Engine Properly
Proper storage is the final step in winterising your outboard engine. Where and how you store your engine can have a significant impact on its condition come spring.